Mạch Đóng Ngắt Relay Thời Gian Thực T24H-5P


Thanh Toán Tiền mặt Hoặc Chuyển Khoản

Giao Hàng Theo Yêu Cầu

Đặt Hàng Theo Yêu Cầu
- Thông tin sản phẩm
- Hướng dẫn
|
Loại |
Mạch Đóng Ngắt Relay Thời Gian Thực T24H-5P |
|
Điện Áp Hoạt Động |
5-60Vdc |
|
Chức Năng |
Nhiều chế độ cài đặt P1-1 ~ P1-4. Có Còi Báo |
|
Số kênh |
1 |
|
Kiểu đóng gói |
Board Mạch |
Mode introduction:
OPE: relay closing time point, CLE: relay off time point
Time period: PE-1 ~ PE-5 5 time periods (OPE to CLE is a time period)
----: function shielding
P-1: The relay closes or outputs pulses every day to the OPE time point, and the relay turns off or outputs pulses to the CLE time point.
P-2: set the day, to the OPE time point when the relay closed or output pulse, to the CLE time point when the relay disconnect / or output pulse
P-3: set the date of the month, to the OPE time point when the relay closed or output pulse, to the CLE time point when the relay is off or output pulse
P-4: Set the date 1 to date 2, start every day at the OPE time point, end to the CLE time point, relay action or output pulse
P-5: As with P-4, only the month can not be set
First, how to set the time?
In the time to run the interface, press the DOWN button for a while:
Step 1: Select the time period: PE-1 ~ PE-5 Press UP and DOWN to select;
Step 2: Press the SET key to select the mode: P-1 ~ P-5 (Set this time period to the corresponding mode) by pressing the UP and DOWN keys. ("----" means to block this time period)
Note: Each time period can be repeated from the "----", P-1 ~ P-5 one of the optional; For example,you can let five time periods at the same time work in the P-1 mode, or let Time period 1 work in P-1 mode, time period 2 work in P-2 mode and so on.
Step 3: After the mode selection is finished, press the SET key to enter the time period setting interface, set the interface in the time period, press the SET key to switch the parameter, "OPE" start time point, "CLE" end point, "dAE" date information;
Step 4: After setting the parameters to exit the settings, press the SET button for 2 seconds to release, automatically check whether the parameter settings are legal, legal to save the parameters, return to the time to run the interface; if the parameter is wrong, "ERR" reminder (for example, stop time or Date <= start time or date), return to the parameter setting interface;
Additional features: Each "time period" can be set individually
In the specific parameter setting interface (after the second step), press the STOP button to switch the output mode:
OUT1: Start time point turns on the relay, the end time is off the relay
OUT2: Outputs 1S pulse to start or end time
In the specific parameter setting interface (after the second step), press the STOP button for a while to switch the ringing mode:
BLL0: Ring disable
BLL1: Ring enable
Note: When the bell rings, press any button to stop the ring
STOP key function expansion:
Relay enable mode:
1. ON: enable relay on;
2. OFF: Do not turn on the relay, it is always off;
Press the STOP button on the time display interface to switch between ON and OFF, the current status will flash, and then return to the main interface. (This function is the emergency stop function, press once to close the closed relay)
After the relay is disabled, the product can be used as an alarm clock.
Sleep mode:
1. C-P sleep mode: within five minutes, without any operation, the digital tube automatically shut down the display, the program normal operation;
2. O-d normal mode: digital tube is always open display;
Press the STOP button for a while after 2 seconds to release, to achieve C-P and O-d state of the switch, the current state will flash, and then return to the main interface.
Package Included:
1PC*Real-time relay Module(Note: Not including batteries)
Bước 1: Truy cập website và lựa chọn sản phẩm cần mua để mua hàng

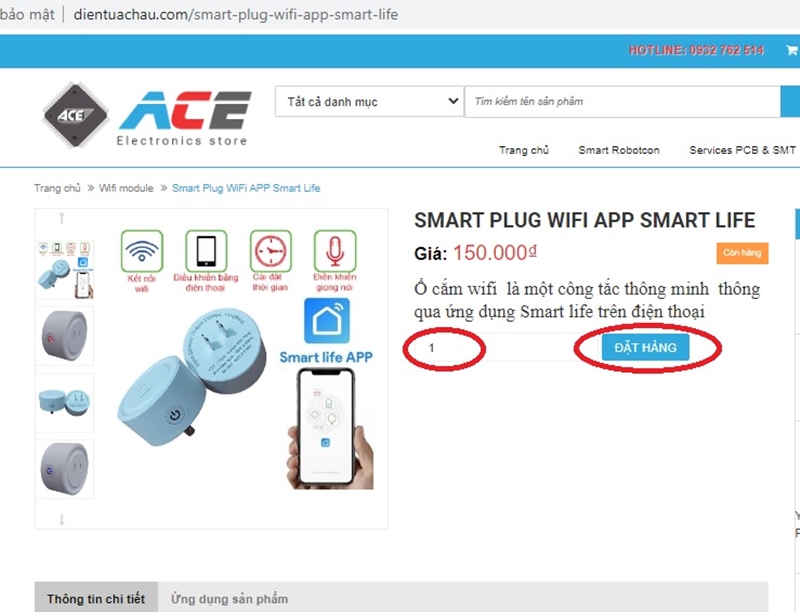
Bước 2: Click và sản phẩm muốn mua, màn hình hiển thị ra pop up với các lựa chọn sau
Nếu bạn muốn tiếp tục mua hàng: Bấm vào phần tiếp tục mua hàng để lựa chọn thêm sản phẩm vào giỏ hàng
Nếu bạn muốn xem giỏ hàng để cập nhật sản phẩm: Bấm vào xem giỏ hàng
Nếu bạn muốn đặt hàng và thanh toán cho sản phẩm này vui lòng bấm vào: Đặt hàng và thanh toán
Bước 3: Điền các thông tin của bạn để nhận đơn hàng, lựa chọn hình thức thanh toán và vận chuyển cho đơn hàng của mình

Bước 4: Xem lại thông tin đặt hàng, điền chú thích và gửi đơn hàng

Sau khi nhận được đơn hàng bạn gửi chúng tôi sẽ liên hệ bằng cách gọi điện lại để xác nhận lại đơn hàng và địa chỉ của bạn.
Hoặc Quý khách có thể liên hệ trực tiếp tới số : 0932 762514 gặp hoặc 08-54051790
Trân trọng cảm ơn.